The auditing database, qp_auditing is created by default during a fresh installation of Orchestra 6.2.
In the install.properties file, you can find the application called application.auditing, which by default is set to true. The properties for the qp_auditing database can also be found in the install.properties file.
Auditing can also be found as one of the applications in the Installation Wizard.
Upgrade
The auditing database, qp_auditing, is not automatically created during upgrade. Enabling auditing in an upgrade requires setting up the required user and table, as well as modifying the install.properties file.
Prepare your database by running the scripts corresponding to your database (Oracle Database / Microsoft SQL / PostgreSQL).
1. Open a database tool that allows you to run a database script (e.g. SQL Developer for Oracle Database, or SQL Server Management Studio for Microsoft SQL). For PostgreSQL, see special instructions below.
2. Run the script corresponding to your database in a tool that can execute the script:
Microsoft SQL Server:
<tmp_dir>/db/auditing-mssql.sql
Oracle Database:
<tmp_dir>/db/auditing-oracle.sql
PostgreSQL:
1. Make sure that the PostgreSQL bin folder is added to environment variables.
2. Open the command prompt in the <tmp_dir>/db/ directory.
3. Run the command:
psql -U postgres -f auditing-postgres.sql
Configuration - Installation Wizard
It is possible to select Auditing in the wizard, when upgrading. However, you will, in that case, be notified that the database scripts described above need to be run before you proceed.
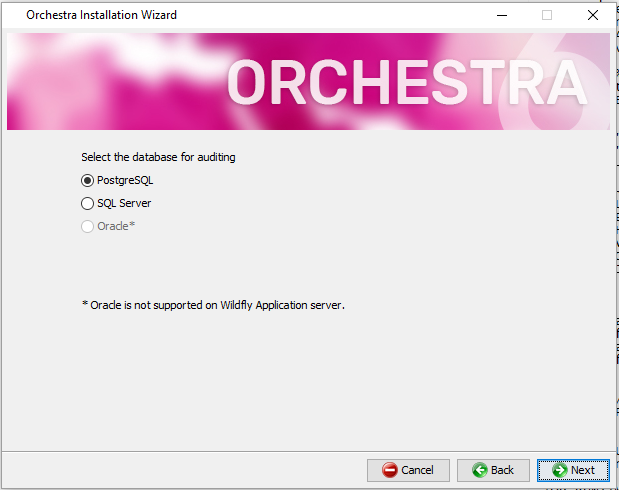
If you select Auditing as an application when upgrading, you will first need to select the wanted database:
Note that Oracle is not supported when running the Wildfly Application Server.
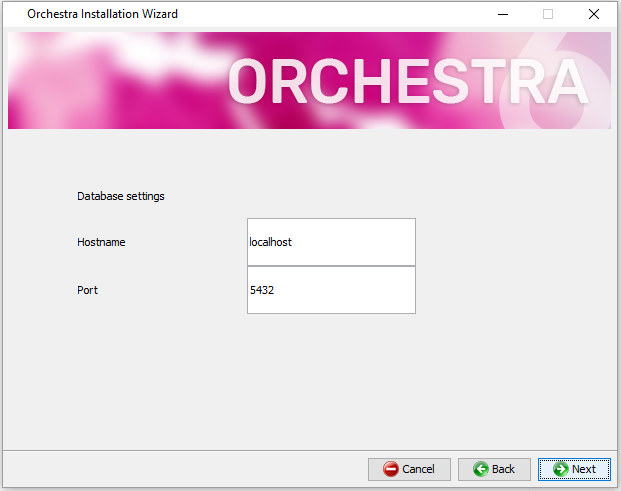
Next, you need to fill in Hostname and Port for your database, as in the following example for PotgreSQL:
Configuration - install.properties file
Set application.auditing = true.
Modify the audit db settings for the database picked in the previous step to match those of your db.
 Note that Oracle is not supported when running the Wildfly Application Server.